This is a 'How to' on changing the
complete suspension struts. Basically I already had some late
suspension struts from my old SC on my new car. The problem was
that the later cars struts are slightly different from that of the
earlier cars. The fronts are the same but the rears have a 19mm
bolt on the later cars compared to the earlier car which has a
17mm bolt where the strut bolts to the hub, so really it wasn't
ideal to have late rear struts on the earlier car due to having a
17mm bolt in a 19mm bolt hole. Toni Gladding had a set of early
struts with Koni adjustables and Pi springs. So I swapped these
with her.
To start with its a good idea to
spray some WD40 over the various components that need to be
removed. These are the bottom strut bolts and the anti-roll bar (ARB)
drop links:
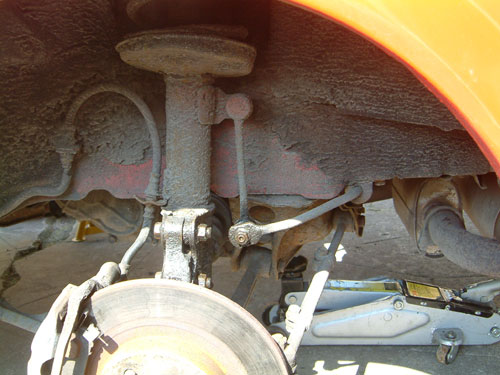
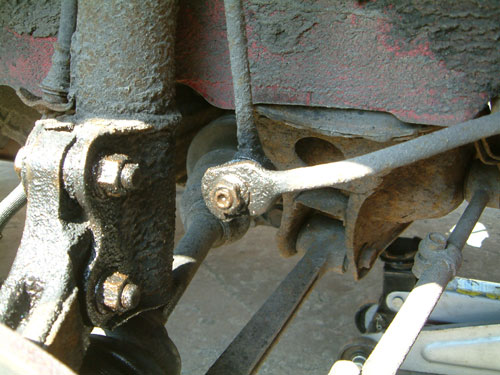
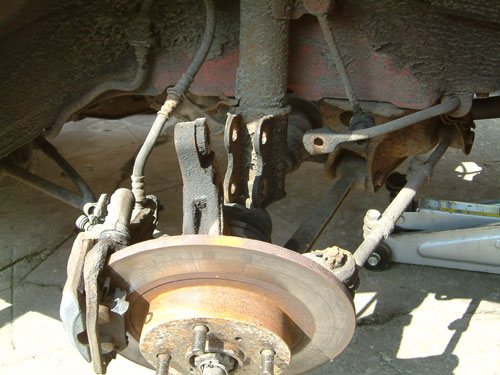
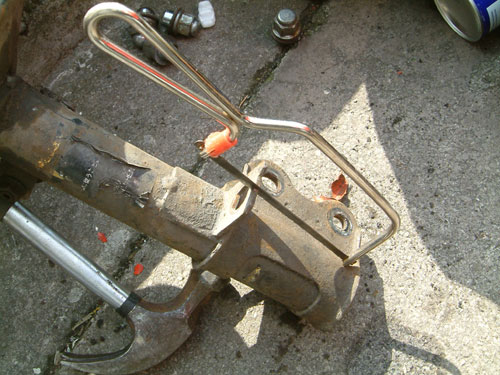
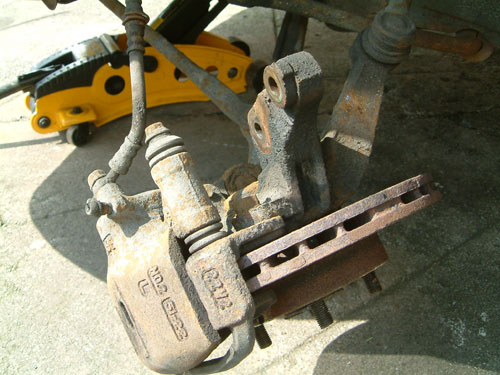
This is a close up of the strut bolts
that bolt the strut to the hub and the ARB to drop link

The brake pipe passes through a
bracket on the strut. There is a retaining clip that needs to
removed first, then it is simply a case of hacksawing through the
outer part of the bracket and bending it up with a pair of pliers
and easing out the brake line. This save the added hassle of
undoing the brake line.
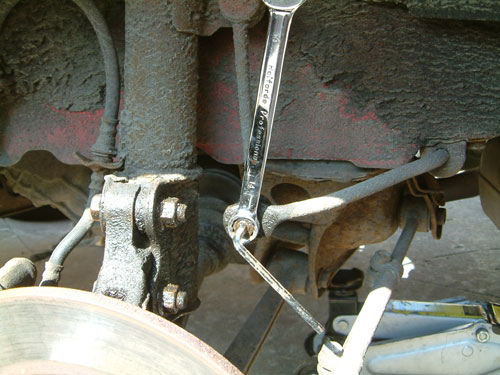
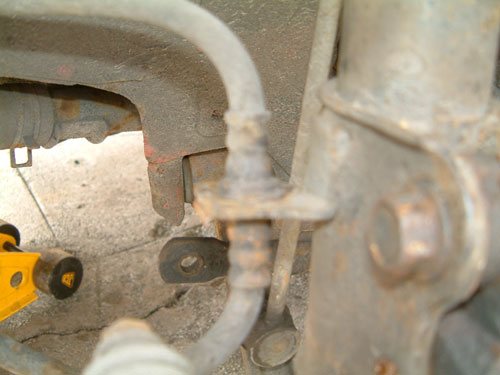
Undoing the ARB drop link. You need
an appropriate size allen key (5mm IIRC) and a 14mm spanner. Its a
good idea to clean out where the allen key goes into the bolt to
ensure that you have a good purchase.
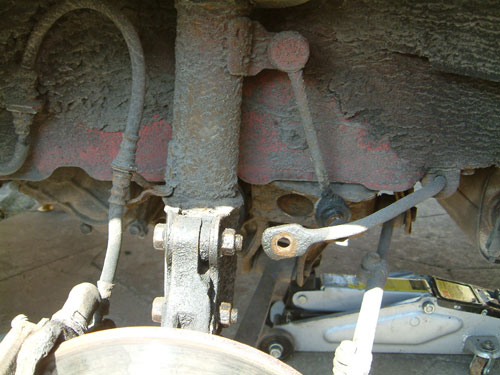
ARB drop link disconnected from ARB
and also to the left the brake line has been eased out of the
strut bracket.

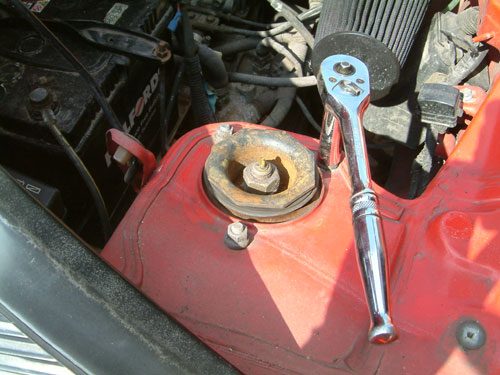
Undoing the strut bottom bolts. On
early cars these are 17mm all round. On later cars they are 19mm
on the rear. A 2ft breaker bar is the only option really as these
are torqued up very tight. The top bolt has a camber adjustment
cam within it.
Both strut bottom bolts removed and
the hub assembly pulled clear of the strut. The camber adjustment
cam can be seen as the topmost mount.
After removing both of the bottom
strut bolts, it is then simply a case of undoing the top mount
bolts, using a 12mm socket (rear) 14mm (front). It is easiest to
remove 2 bolts completely then support the strut from underneath
whilst you undo the last one. The strut will simply drop out when
you have removed all the bolts.

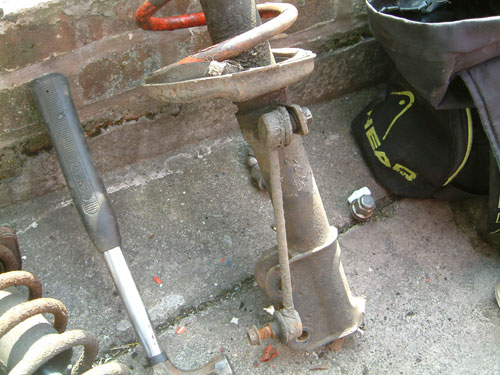
Old strut removed. Clearly to be seen
are the linear Fensport
springs.
The drop links are a different length
on the early cars due to the different mounting of the ARB. The
struts I received were without the drop links so I had to swop
over my original spares, so I had to undo them at both ends! With
the correct tools its no problem.
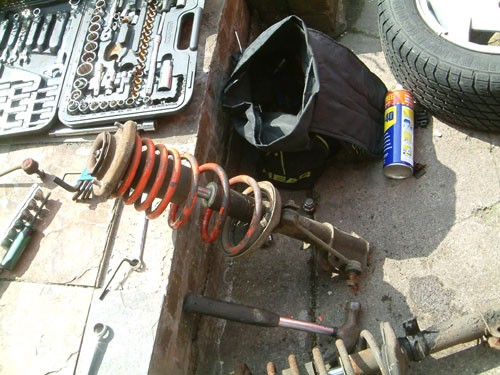
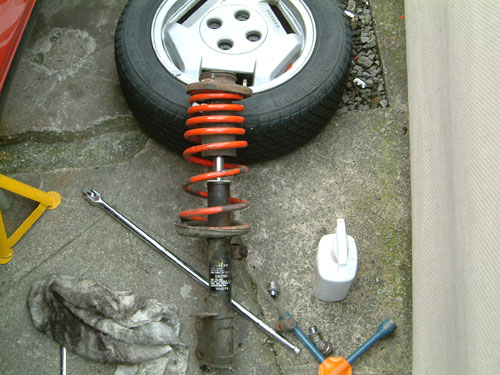
My new struts to go on. It can be
clearly seen that the springs are progressive. Dampers are
adjustable Koni.
Hacksawing the brake line mount on
the strut. It is a lot easier to cut through this mount then bend
it out of the way so as to allow the brake line to be slipped into
the mount. Then its simply a case of bending it straight and then
tap in the mounting clip which holds it perfectly adequately. The
metal is very soft and 20seconds with a junior hacksaw is all it
takes to saw through it.

Bracket bent out of the way to allow
brake line to go into bracket.
New strut in place. Easiest way is to
offer it up and bolt up the top mounts first then with a bit of
pushing and shoving get the lower mounting bolt in then stand the
hub up to get the top bolt in. Copperslip is applied at during
re-assembly to ease any future work. The camber adjustment cam on
the top bolt needs to be set at this stage. I opted to simply max
out the negative camber which requires that camber 'lug' is in the
12 o'clock position.
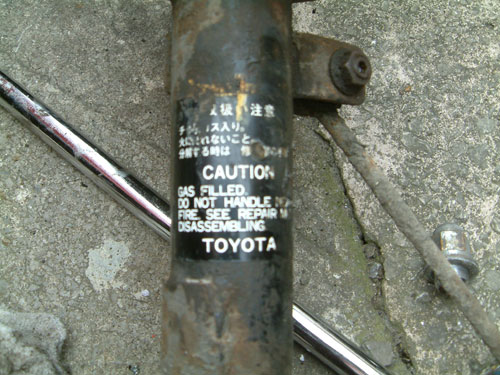
Close up of the original Toyota
writing on the strut! For 19 years old it has survived remarkably
well!
Full picture of the other rear strut
about to go on.
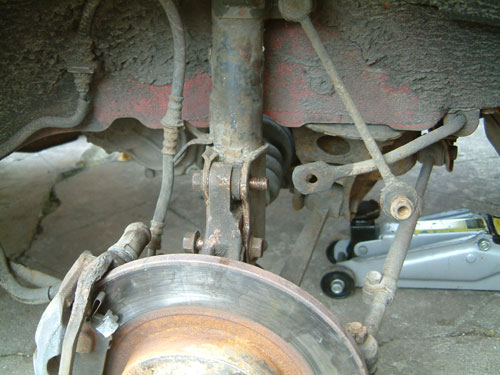
Close up of the front hub carrier
with the strut removed. Camber adjustment cam is on the top and
can be clearly seen.

Not the clearest pic but I wanted to
get a close up of the camber bolt so that it can be seen how the
adjustment works. Obviously the closer the bolt is to the strut
the more negative camber you will get. Having said that there
isn't loads of adjustment there.
Another fuzzy pic. But here is the
front strut brake line bracket with the retaining clip in place. I
took this to demonstrate that even though I have hacksawed through
the bracket the brake line is perfectly well retained.